Bridge
Contents
Description
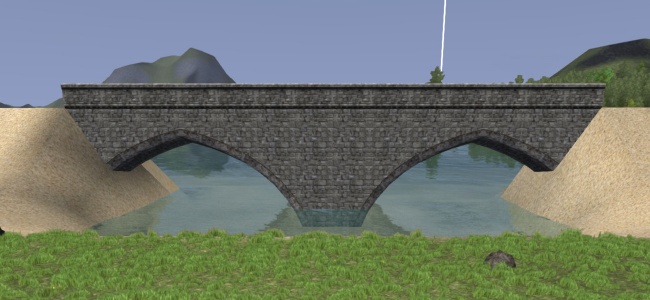
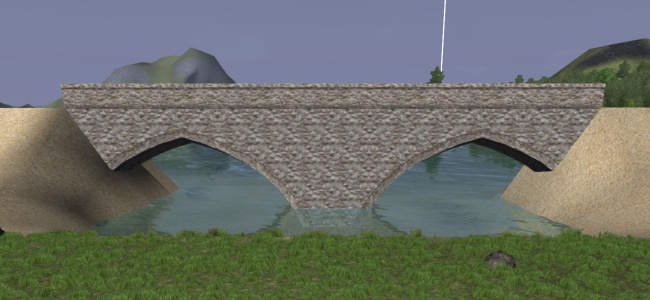
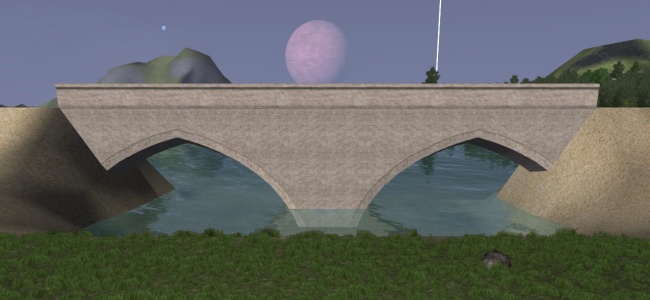
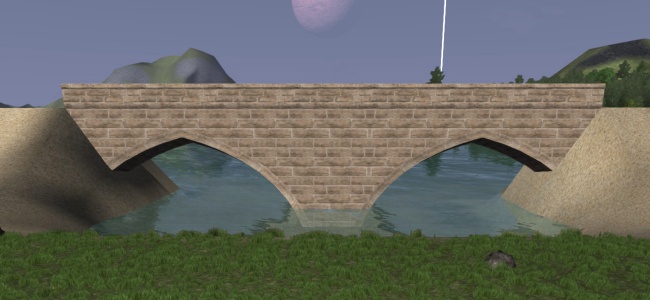
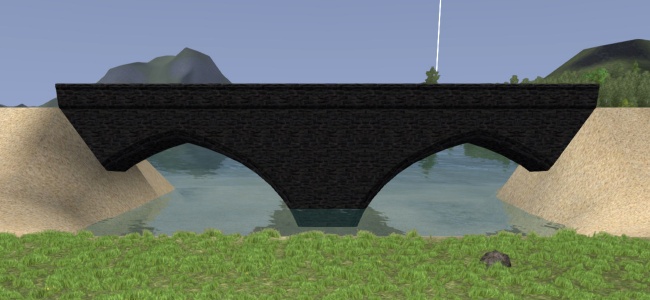
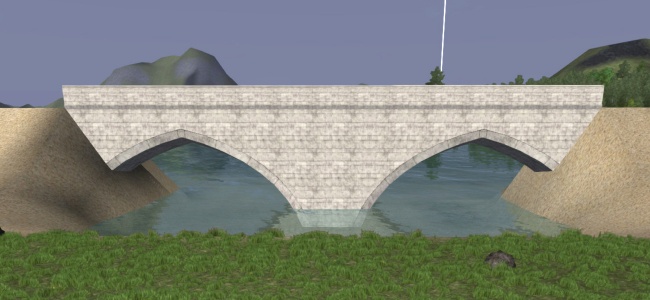
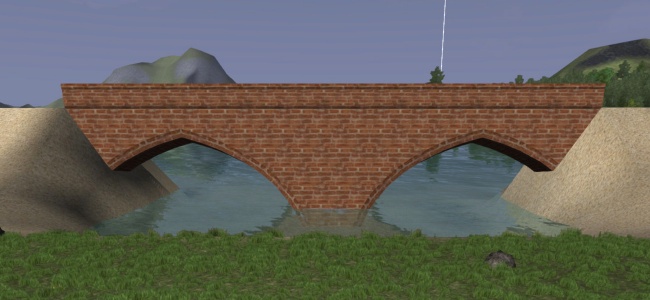
A bridge is a player-made structure that spans an open space between two static points, allowing movement across said span. Once complete, a bridge allows for players, land vehicles, and creatures to move across. Bridges can be built between land masses and structures alike as well as in caves, over land, and over water. Bridges can be flat as well as built on a slope from one end to the other.
Survey
Survey will give you information on where the other character is standing regarding distance, direction and height difference.
To survey for a bridge two characters are needed. One character must carry a range pole, the other a dioptra. The lowest quality of the two items determines how long a bridge is that you can survey.'
The character with the range pole does not have to do much besides holding the range pole. To do this activate the range pole, click the ground and select Hold from the menu. When the action timer starts face the character with the dioptra.
The character with the dioptra will do the actual survey. Activate the dioptra, right click the player holding the range pole and select Survey from the menu.
The planning process will print messages in the event log
You carefully place the dioptra on its tripod in front of you.
You make sure the dioptra is level.
You point the dioptra at <other player>.
You line up the dioptra with <other player>.
You read the graduations on the range pole and work out the height difference.
<other player> is <x> tiles <direction> of you. Also you appear to be <x> dirt higher than <other player>.
You stop surveying.
You pack up the dioptra.
Building
To plan a bridge two characters are needed. One character must carry a range pole, the other a dioptra.
The character with the range pole does not have to do much besides holding the range pole. To do this activate the range pole, click the ground and select Hold from the menu. When the action timer starts face the character with the dioptra.
The character with the dioptra will do the actuall bridge planning. Activate the dioptra, right click the player holding the range pole and select Plan bridge from the menu. Standing right in front of the other character will create a 1 tile wide bridge. Standing at an offset will create bridges multiple tiles wide.
The planning process will print messages in the event log
You carefully place the dioptra on its tripod in front of you.
looks like bridge would be <'width'x'length'> (East-West)
The tile border to your <direction> is level
You make sure the dioptra is level.
You point the dioptra at <other player>.
You wave at <other player>.
You line up the dioptra with <other player>.
You read the graduations on the range pole and work out the height difference.
The tile border to your helpers <direction> is level
You check the heights of the plan ends.
<Height difference>.
You work out the orientation and width for the bridge.
You check for clearance between the bridge ends.
You check for protruding foliage.
You check for nearby cave entrances and any lava.
You check for any items in the way.
You check that you have permissions to build the bridge.
You check for any bridges that may interfere with this bridge.
You check there would be no buildings under this bridge.
You work out the styles of bridges that would fit.
You start working out the bridge components required.
Planned bridge area is <x> tiles long and <y> tile wide.
(23:ESabFFFFFFFFFFFFFFFBASE)
You stop surveying.
You pack up the dioptra.
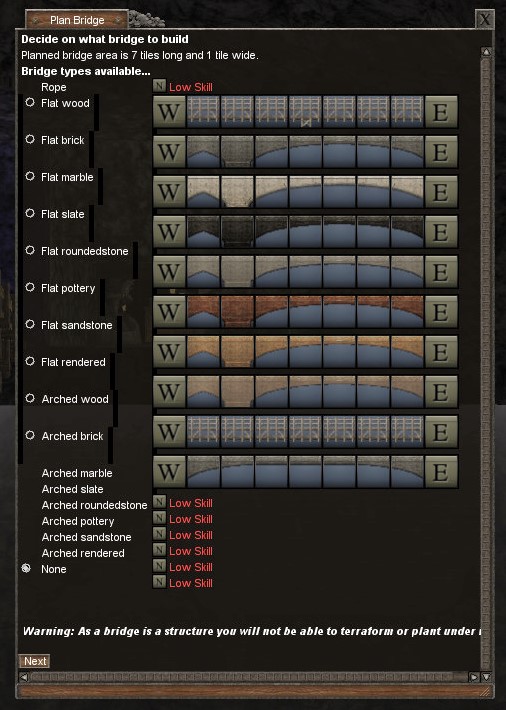
When all requirements are met you are presented with list of possible bridges.
The selection depends on planned width, length, height difference and clearance below the planned bridge.
If you have choosen a flat bridge that is longer than 5 tiles then you have the possibility to change the schematic of your bridge plan.
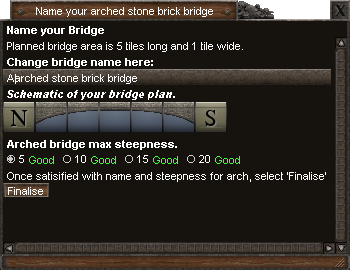
When you have choosen a type of bridge you can name the planned bridge and select the steepness of the bridge if you've choosen an arched bridge.
After clicking Finalize a wooden frame for the bridge is constructed.
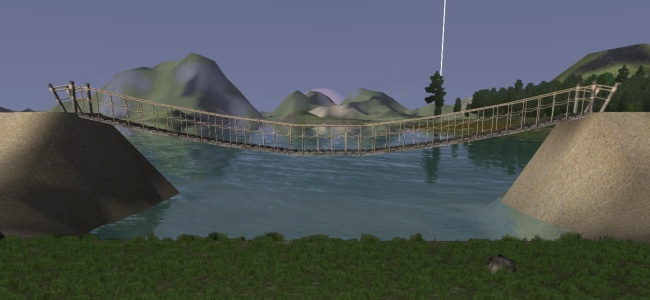
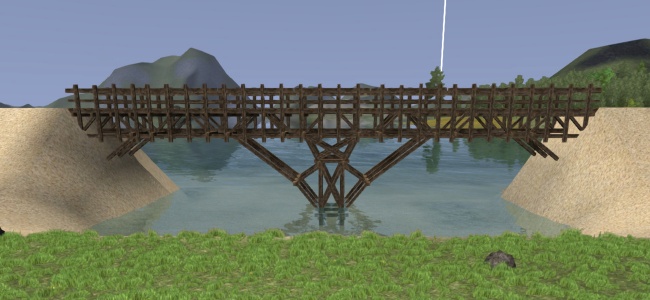
For each tile of the bridge a bridge segment has to be completed in multiple stages. Those are 'abutments' for the out segments, 'bracing' and 'floating' for stone bridges and 'crown' for rope and wood bridges.
Until the bridge has been completed no other bridge can be started by the character.
It is also important to note that, with bridge permissions set accordingly, players other than the original planners of the bridge may work on and complete said bridge.
Bridge Warnings and Possible Solutions
Your end of the bridge is too close to the water level!
- Both ends of the bridge need to be at water level or higher.
"The quality of the dioptra makes it too hard to work out the distance." or "You can't read the graduations on the range pole at this distance".
- Improve both items. Note that the lowest QL of the two will determine the max length of bridge you can plan.
You notice that there is not enough clearance for a bridge to be built here.
- Remove trees, houses, fences at both end tiles where the bridge should have enough drop off.
- For bridges from a building, all walls under the bridge must be a solid wall type. Arched, windowed, barred, and doors will not provide enough support.
There are some terrains nearby
- A cave entrance is one factor. Make sure to build the bridge at least 2 tiles away from the opening.
The (East) tile border in front of you must be level.
- Level the tile borders where the bridge will connect.
Some terrain is in the way!
- Possible solution: lower any tiles that height-wise are near the span of the bridge.
You notice that the west bridge end does not butt all to same building all way along.
- Possible solution: In the diagram below try standing on the letter B for both planners.
  +-----+-----+-----+
  |A   B|     |     |
  |  North Building |
  |C   D|     |     |
  +-----+-----+-----+
W |     |     |     | E
e |     |     |     | a
s |     |     |     | s
t +-----+-----+-----+ t
  |     |     |D   C|
  |  South Building |
  |     |     |B   A|
  +-----+-----+-----+
Height difference
Arched bridges have a limit on the maximum height difference between the start and end point, which is between 10 and 11.43 per tile.
| Distance | Start elevation | Max elevation | Difference | Difference per tile |
|---|---|---|---|---|
| 4 | 375 | 415 | 40 | 10 |
| 5 | 375 | 432 | 57 | 11.4 |
| 6 | 375 | 440 | 65 | 10.83 |
| 7 | 375 | 455 | 80 | 11.43 |
| 8 | 375 | 465 | 90 | 11.25 |
Skill Requirements
Here is a table of the estimated required skill to plan bridges (by length and material). The person holding the dioptra requires this skill. These numbers are rough, whole-number estimates. You may require slightly more skill in practice.
| Type/Length | 5 tiles | 6 | 7 | 8 | 9 | 10 | 11 | 12 | 13 | 14 | 15 | 16 | 17 | 18 | 19 | 20 | 21 | 22 | 23 | 24 | 25 | 26 | 27 | 28 | 29 | 30 | 31 | 32 | 33 | 34 | 35 | 36 | 37 | 38 | Skill used |
|---|---|---|---|---|---|---|---|---|---|---|---|---|---|---|---|---|---|---|---|---|---|---|---|---|---|---|---|---|---|---|---|---|---|---|---|
| Wood | 10 | 23 | 29 | 34 | 38 | 41 | 44 | 47 | 50 | 52 | 55 | 57 | 59 | 62 | 64 | 66 | 68 | 70 | 72 | 74 | 76 | 77 | 79 | 81 | 83 | 85 | 86 | 88 | 90 | 92 | 93 | 95 | 97 | 99 | Carpentry |
| Rope | 10 | 23 | 29 | 34 | 38 | 41 | 44 | 47 | 50 | 52 | 55 | 57 | 59 | 62 | 64 | 66 | 68 | 70 | 72 | 74 | 76 | 77 | 79 | 81 | 83 | 85 | 86 | 88 | 90 | 92 | 93 | 95 | 97 | 99 | Ropemaking |
| Brick | 30 | 40 | 45 | 48 | 51 | 54 | 56 | 59 | 61 | 63 | 65 | 66 | 68 | 70 | 72 | 73 | 75 | 76 | 78 | 79 | 81 | 82 | 84 | 85 | 86 | 88 | 89 | 90 | 92 | 93 | 95 | 96 | 97 | 99 | Masonry |
| Marble/Slate/Sandstone | 40 | 49 | 53 | 56 | 58 | 60 | 63 | 64 | 66 | 68 | 70 | 71 | 73 | 74 | 75 | 77 | 78 | 79 | 81 | 82 | 83 | 85 | 86 | 87 | 88 | 89 | 90 | 92 | 93 | 94 | 95 | 96 | 97 | 99 | Masonry |
| Arched Brick | 50 | 57 | 60 | 63 | 65 | 67 | 69 | 70 | 72 | 73 | 74 | 76 | 77 | 78 | 79 | 81 | 82 | 83 | 84 | 85 | 86 | 87 | 88 | 89 | 90 | 91 | 92 | 93 | 94 | 95 | 96 | 97 | 98 | 99 | Masonry |
| Arched Marble/Slate/Sandstone | 60 | 66 | 68 | 70 | 72 | 73 | 75 | 76 | 77 | 78 | 79 | 80 | 81 | 82 | 83 | 84 | 85 | 86 | 87 | 88 | 88 | 89 | 90 | 91 | 92 | 92 | 93 | 94 | 95 | 95 | 96 | 97 | 98 | 99 | Masonry |
Note to build any bridge section, the skill requirement is:
| Type | Skill | |
|---|---|---|
| Wood | 10 | Carpentry |
| Rope | 10 | Ropemaking |
| Brick | 30 | Masonry |
| Marble/Slate/Sandstone/Rounded Stone | 40 | Masonry |
| Arched Brick | 30 | Masonry |
| Arched Marble/Slate/Sandstone | 40 | Masonry |
When making the rope bridge, how much they sag is based on your character strength with options ranging from 3% to 12% sag.
| Body Strength | Sag % |
|---|---|
| 1 | 12 |
| 10 | 11 |
| 20 | 10 |
| 30 | 9 |
| 40 | 8 |
| 50 | 7 |
| 60 | 6 |
| 70 | 5 |
| 80 | 4 |
| 90 | 3 |
Paving
The surface of a bridge can be paved (Excluding rope bridges and wooden bridges).
As with reinforced cave floors, this is accomplished first by activating mortar and using it to Prepare the surface of the bridge, then using the appropriate pavement material to pave the prepared tile. No diagonal (corner) paving is possible.
Pavement can be removed from bridges at any time using a crowbar
Gallery
Notes
- Bridges can on be 1-3 tiles wide, no matter the creator's skill.
- Bridges and their components cannot be dyed.
- Bridge type is somewhat limited by wall type when connected to a building. Rope bridges can be built with any wall type, but a wood building will only give rope and wood options. Building types using masonry (stone, slate, etc) will give the option to build non-wood bridges using masonry components.
- The first level of a house is calculated at 33 dirt. Each additional level adds 30 dirt.
- Brick/marble/wood/slate/sandstone bridges require solid walls directly below, for at least two stories of the building. Example: 3-story house can have a door on the first floor, but must have solid walls for the next two floors on the side with a connecting bridge.
- Any bridges connected directly to a structure will disappear upon the structure being destroyed.
- Bridges will only begin to decay after a week of no use.
- Bridges max slope is 20 per bridge part.
- Modifying the terrain after planning a bridge will require re-planning the bridge.
- You can dig under bridges, with the exception of at the ends or next to supports.
- On neighboring tiles, bridges and buildings do not generally cause a conflict with one another. This is regardless of the order in which each is built.
- Bridges cannot be built over any tile that has a settlement token or any opening into a mine. These obstacles must be located 2 tiles away from any bridge component, at least, in order for successful bridge planning to take place. See image on rope bridge page for visual example (here the mine entrance is located just outside of the interference range).
- An approximation for the length of a bridge that can be built is quality x 0.4, but as its almost impossible to stand on the tile borders its best to add 1-2 quality, Note that the lowest QL between the two tools ( dioptra or range pole ) will determine the max length of bridge you can plan.
- Building Tip: Building 2 or more tile wide bridges can be difficult to plan. As the diagram shows below you must offset your two characters (the A and the B in the diagram) by how many tiles wide you want the bridge to be and make the two characters face each other.
 +-----+-----+
 |A    |     |
 |     |     |
 |     |     |
 +-----+-----+
 |     |     |
 |     |     |
 |     |     |
 +-----+-----+
 |     |     |
 |     |     |
 |     |    B|
 +-----+-----+
Links
- Some Bridge info may be found in the week 43 news post here: http://forum.wurmonline.com/index.php?/topic/112518-news-update-work-and-progress-week-43/
- Bridge material calculator located here: http://forum.wurmonline.com/index.php?/topic/122044-bridge-material-calc/
